First impressions are everything, especially when it comes to social media. For video content, the first impression is your thumbnail. A well-crafted thumbnail can instantly grab attention, entice viewers to click, and ultimately boost your video’s performance.
Whether you’re sharing on YouTube, Facebook, or Instagram, your thumbnail serves as the face of your content, acting as a visual hook that convinces users to hit “play.”
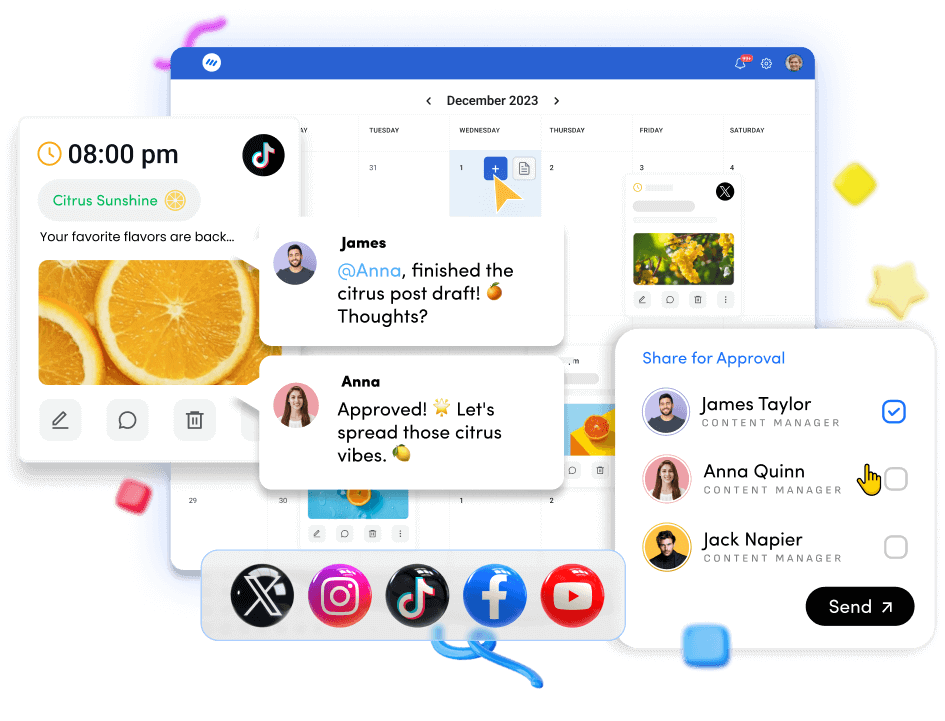
With ContentStudio’s powerful scheduling feature and intuitive interface, you can easily upload and schedule your video posts while adding custom thumbnails to enhance your content’s visibility.
Let’s explore the importance of custom thumbnails and how you can add them to your scheduled posts exactly.
The easiest way to manage and grow your social channels.
Try ContentStudio for FREE
Why custom thumbnails matter for video posts?
The thumbnail of a video is much more than just an image—it’s a decisive factor in whether your content gets noticed or scrolled past. Statistics show that custom thumbnails can significantly increase click-through rates (CTR), as they visually communicate the value and appeal of your video before viewers even hit play.
In fact, an eye-catching thumbnail can boost engagement by making your video stand out in crowded social feeds.
While many platforms automatically generate thumbnails from your video, these auto-generated options often capture random frames that don’t represent your content’s true value.
A custom thumbnail, on the other hand, allows you to control the narrative. By choosing a relevant, high-quality image, adding text, or incorporating your branding, you create a stronger connection with your audience, making it easier for them to understand what your video is about at a glance.
Related Read: How to use social media platforms to monetize your video content?
A step-by-step guide to add custom thumbnails to scheduled posts using ContentStudio
Adding the custom thumbnails to your scheduled posts in ContentStudio is a quick and easy process that involves the following simple steps:
Step 1: Login to ContentStudio
To get started, head over to the ContentStudio website and log in using your credentials.
Once you’ve successfully logged in, you’ll land on the dashboard, where all your content management tools are available.
Step 2: Connect your social media accounts
Before you can schedule posts with custom thumbnails, make sure your social media accounts are connected. Here’s how:
- Click on your profile picture in the top-right corner. Select Social Accounts from the dropdown menu.
- From here, follow the prompts to connect the accounts (Facebook, Instagram, YouTube, etc.) to which you want to upload videos with custom thumbnails.
Step 3: Open the social post composer
From the dashboard, navigate to the Compose section by selecting Social Post from the navigation bar. This will take you to the post creation interface, where you can craft your posts for different social platforms.
Step 4: Select a social profile and upload your video
- In the Post Composer, choose the social media profile(s) you wish to post to from your connected accounts located in the left bar.
- Next, upload your video by clicking the video upload icon.
- Once the video is uploaded, you’ll see an option to add a custom thumbnail.
Step 5: Add a custom thumbnail
ContentStudio offers three different ways to add a custom thumbnail to your video post:
- Choose suggested: Select the recommended thumbnail that ContentStudio suggests based on the video.
- Choose from video: Select any thumbnail from within your video by browsing through the video timeline to find the perfect frame.
- Upload image: Upload a custom image to use as your thumbnail. This option gives you complete control over how your video is represented. Make sure your image is high-quality and aligns with your branding.
Step 6: Review and schedule your post
Once you’ve selected the thumbnail, it’s time to preview how your post will appear across platforms. In the Post Preview section, you can see exactly how your video and custom thumbnail will look once it’s live.
Finally, schedule the post by selecting the Schedule option under Posting Schedule.
Pick the ideal date and time for your video to go live.
Click on the Schedule button, and you’re done!
Common mistakes to avoid when adding thumbnails
While adding custom thumbnails can significantly boost your post’s visibility, a few common mistakes can hinder its effectiveness.
Here’s what to watch out for:
- Incorrect thumbnail dimensions: Each social media platform recommends thumbnail dimensions. Using the wrong size can result in images being cropped, stretched, or blurred. To avoid this, make sure your custom thumbnails adhere to platform-specific guidelines.
Related Read: Up-to-date guide to social media video specs [2024 edition]
- Low-resolution images: A blurry or pixelated thumbnail can give your post an unprofessional look, causing users to scroll past it. Always use high-resolution and engaging images that look crisp and clear, even when resized by the platform.
- Mismatched branding: Your thumbnail should align with your brand’s overall aesthetic. Using random or irrelevant images, colors, or fonts can confuse your audience and dilute your branding. Stick to consistent colors, typography, and logo placement in your thumbnails to ensure they align with your brand identity.
Conclusion
Using ContentStudio, adding custom thumbnails to your scheduled posts is a simple yet powerful way to boost engagement and improve the visibility of your video content. By following the steps, you can control the visual appeal of your content across multiple platforms.
Remember, your thumbnail is the first thing viewers see, so don’t be afraid to experiment with different designs and track your post engagement. Test what works best for your audience, and refine your thumbnails to ensure maximum impact.
FAQs
Can I change the thumbnail after scheduling a post?
Yes, you can modify the thumbnail before the post goes live. Simply return to the scheduled post in ContentStudio, edit the post, and update the thumbnail.
What file formats are accepted for custom thumbnails?
ContentStudio supports standard images for custom thumbnails in JPG and PNG formats.
How do I ensure my custom thumbnail doesn’t get cropped or distorted?
To avoid cropping or distortion, follow the platform’s recommended dimensions and keep key elements (like text or logos) centered in the image.
Can I use the same custom thumbnail across different social media platforms?
While you can, it’s best to tailor your thumbnails for each platform’s size and aesthetic to ensure they display correctly and engage your audience effectively.
