In the bustling world of YouTube, standing out is more important than ever. With millions of videos uploaded daily, how can you ensure your content reaches the right audience?
One of the most effective ways is by categorizing your videos accurately. Categories help YouTube’s algorithm understand the context of your content, making it easier for viewers to discover your videos.
However, the manual process of adding categories can be daunting, especially if you’re managing many videos.
That’s where ContentStudio comes in.
This social media management tool makes adding categories to your YouTube videos quick and easy.
In this guide, we’ll show you how to categorize your content using ContentStudio, helping your videos gain the visibility they deserve.
The easiest way to manage and grow your social channels.
Try ContentStudio for FREE
Why add a category to a YouTube video using ContentStudio?
This strategic approach helps YouTube’s algorithm recommend your videos more accurately, improving discoverability among targeted audiences.
By categorizing content, viewers can easily find relevant videos, enhancing their overall user experience.
1. Improved discoverability
Categories help YouTube’s algorithm understand your content, boosting its visibility in search results and recommendations.
2. Enhanced viewer experience
Categories make it easier for viewers to find relevant content, improving their overall experience.
3. Targeted audience reach
Categorizing videos helps attract a more specific audience interested in your niche.
Related Read: How to measure social media reach
4. Better analytics and insights
Categories provide valuable insights into which types of content perform best, helping refine your content strategy.
How to add a category to a YouTube video: 7 easy steps
Below is a stepwise guide to add a category to a YouTube video.
Step #1- Log in to ContentStudio
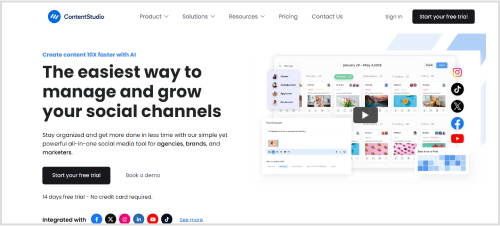
Open your web browser and navigate to the ContentStudio website.
Need a ContentStudio account?
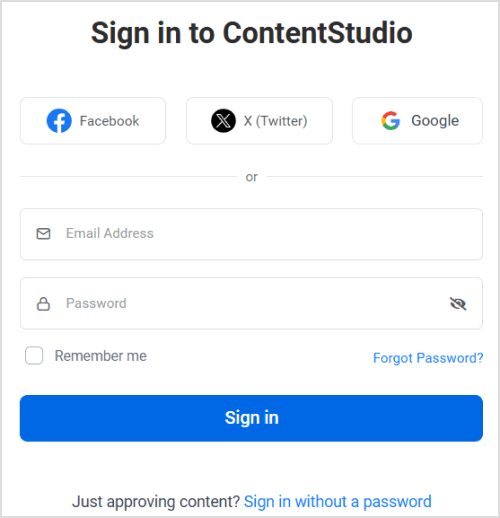
Head towards the “Sign up” option and complete the form with your name and desired password.
You can also use your Google account to sign up quickly.
Once you’re set up, you’ll have full control over Content Studio’s social media scheduling power.
If you already have an account, add your credentials and click the “Sign in” button to access your ContentStudio dashboard.
Step #2- Connect your YouTube channel
Go to the ‘Social Accounts’ section.
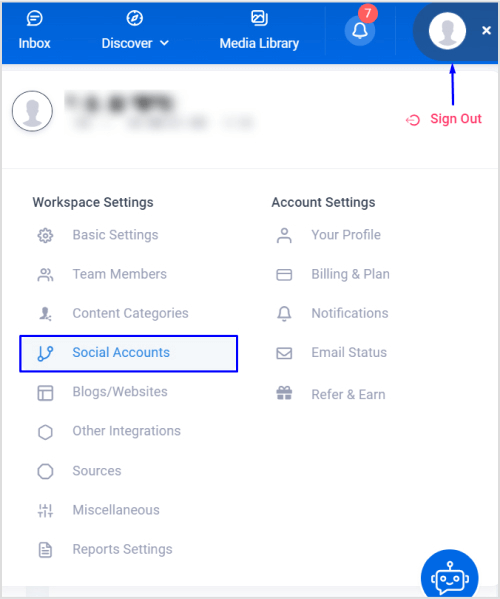
Add your YouTube profile.
Follow the steps and prompts to connect to your YouTube channel.
Make sure you grant all necessary permissions for ContentStudio to manage your YouTube account effectively.
Step #3- Create a new post
To add a category to a new video, click on the Create Social Post button.
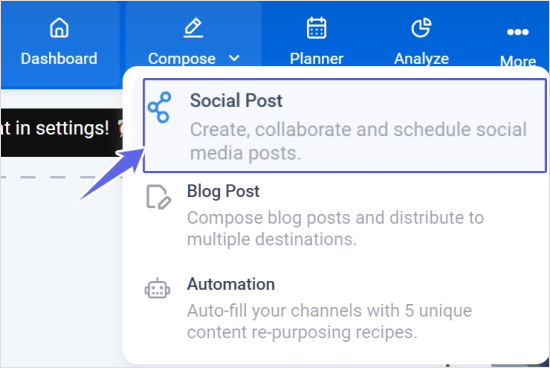
It will lead you to the “Post Composer”
Select your YouTube account: You will see all your connected social media accounts in the composer.
Select the YouTube account where you want to publish the post.
You can also choose multiple accounts to post the same content to several accounts.
Upload your video: You can add your video file from your device.
Fill in the video title, tags, and description.
Step #4- Edit the given YouTube settings
Choose the post type, video title, playlists, video tags, etc.
Their benefits are:
- YouTube title: Attracts viewers and improves searchability.
- YouTube playlist: Groups-related videos for better engagement.
- YouTube video tags: Enhances video discoverability.
Step #5- Select a category
- You will see a list of available categories in the Category dropdown menu.
- Scroll through the list or type the category name in the search bar to find the category most relevant to your video.
- Click on the category to select it.
Example table for Categories
| Category | Description |
| Education | Tutorials, how-to-videos, and educational content |
| Entertainment | Comedy, music videos, and other entertaining content |
| Technology | Reviews, unboxings, and tech news |
| Lifestyle | Blogs, travel videos, and lifestyle tips |
| Gaming | Let’s Play, games reviews, and gaming news |
Step #6- Save your changes
After selecting the category, review all the other details of your video to ensure everything is correct.
Step #7- Schedule your post
Click the ‘Schedule’ option and select the date and time for your video to go live.
Related Read: Improve social media strategy with ‘best time to post’ feature
ContentStudio’s schedule calendar makes this process easy and fast.
You can also select “Custom Time” if you want.
But remember, you need to select more than one account for custom scheduling.
Conclusion
Adding a category to your YouTube video using ContentStudio is straightforward and can significantly enhance its visibility and reach.
By categorizing your content accurately, you help YouTube’s algorithm understand the purpose of your video, making it easier for the right audience to discover it.
Whether uploading new content or optimizing existing videos, following these steps ensures your videos are categorized correctly and ready to engage viewers.
FAQs
Why is it essential to add a category to my YouTube video?
Adding a category helps YouTube understand the context of your video, making it easier for the right audience to find it.
What are the available categories for YouTube videos?
YouTube offers various categories, such as Education, Entertainment, How-to and style, Science and technology, and more.
Can I change the category of an existing video in ContentStudio?
Yes, you can edit the settings of an existing video to change its category.
Can I choose multiple categories for a single YouTube video?
No, YouTube allows only one category per video.
What other metadata should I add to my YouTube video besides the category?
Besides the category, you should add a compelling title, detailed description, relevant tags, and a custom thumbnail for optimal performance.
