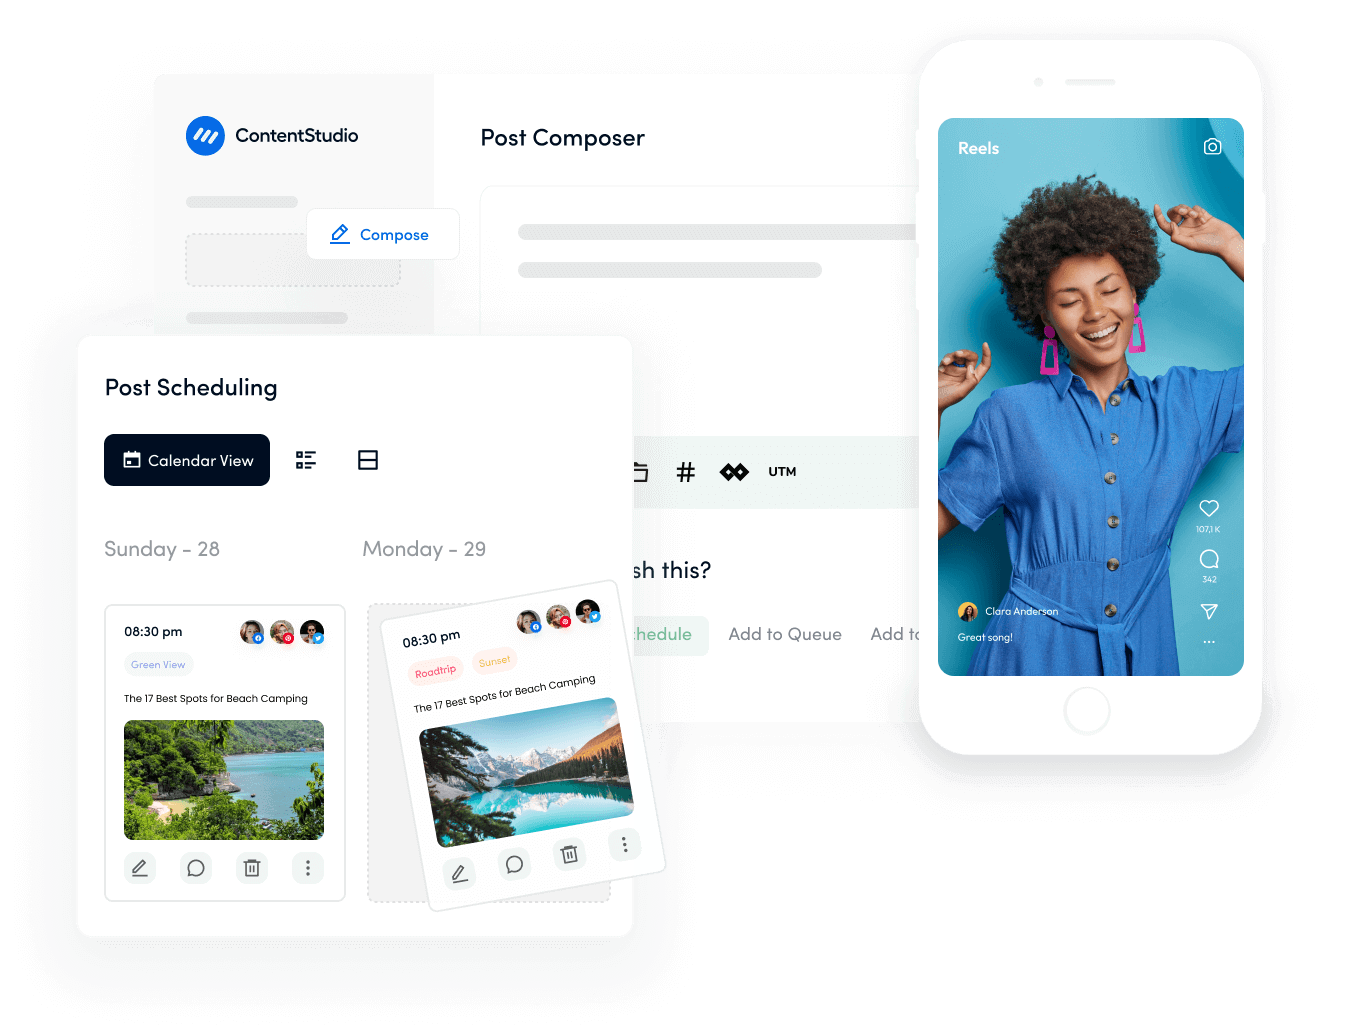
Are you finding yourself spending hours manually posting content to Threads, Meta’s text-based social platform?
Whether you’re a social media manager juggling multiple accounts or a content creator planning your posts in advance, manually uploading each post can be a time-consuming task.
In this comprehensive guide, we’ll walk you through how to efficiently bulk upload your content to Threads using ContentStudio’s CSV upload feature, helping you streamline your social media workflow.
Instagram Marketing
Schedule your Instagram posts, Reels, and Stories, and get recommended best time to publish for maximum engagement.
Get Started for FREE
Why does bulk uploading to Threads matter?
Managing your Threads presence shouldn’t eat up your entire day. Bulk uploading is more than just a convenience—it’s a game-changer for your content strategy. Here’s why:
- Time efficiency: What used to take hours can now be accomplished in minutes, freeing you up to focus on creating engaging content.
- Consistency: Schedule posts at optimal times to maintain a steady presence and keep your audience engaged
- Better planning: Plan and organize your content calendar in advance, ensuring your messaging stays aligned with your strategy
- Reduced errors: Minimize the risk of typos and posting mistakes that often occur with manual uploads
- Scalability: Easily manage multiple accounts or high-volume posting requirements without proportionally increasing your workload
Step-by-step guide to bulk upload to Threads using ContentStudio
Here are the steps you need to follow to bulk upload to Threads using a CSV file in ContentStudio:
Step # 1: Login and access bulk uploader
Start by signing in to your ContentStudio account.
Navigate to the Compose section and select Automation.
Under the automation options, choose Bulk Uploader to start scheduling your posts via CSV.
Step # 2: Prepare your CSV files
ContentStudio provides a CSV template you can download and edit to customize your bulk social media posts.
How to format your CSV file:
- Date and time: Enter the date and time in either dd/mm/yyyy hh:mm or mm/dd/yyyy hh:mm format. This scheduling column ensures your posts are published exactly when you want.
- Message: Add the text or caption for each post in this column. ContentStudio supports various post types:
- Text-only: Enter only the text here for simple posts.
- Text with image: Add the text in this column, and place the image URL in the following column.
- Text with link preview: Write your message and include the link in the Link column.
- Text with a custom image on link Preview: Enter your message, followed by the image URL and link in the adjacent columns.
- Image URL: Use a public URL for any images you wish to include.
- Link: For any external content, add the URL here.
ContentStudio allows you to bulk upload up to 500 posts and supports multiple languages to reach a broader audience with your content.
Step # 3: Select Threads on social media channel
Select a social media platform like Threads to which you’d like to post. Each post will be scheduled for these channels according to your CSV file.
Step 4: Set your scheduling preferences
Choose a scheduling option based on your needs:
- Custom time slots from CSV: The uploader uses the date and time you specified in the CSV file.
- Regular intervals: Set a recurring interval (e.g., every 11 hours) to ignore individual dates/times in the CSV and post at consistent intervals.
- Queue: Add posts to a predefined queue schedule, disregarding the dates/times in the CSV file.
Alternatively, you can categorize the CSV content into a Content Category.
Step 5: Finalize and review your posts
Once you’ve set up your schedule, click Next to upload and process your CSV file.
ContentStudio will display your scheduled posts in a table, allowing you to:
- Edit posts individually, changing captions, images, links, times, channels, or other details.
- Approve or Delete posts individually or in bulk by selecting one or more posts and using the bulk action options.
Once approved, all posts will appear in ContentStudio’s Planner and be published at the selected times.
Best practices for bulk uploading to Threads using CSV files
When using CSV files for bulk uploads, following best practices ensures that your posts are clear, engaging, and correctly scheduled. Here are some tips to improve both the quality and readability of your content:
- Use concise and engaging copy: Aim to make each post clear and direct. Capture attention quickly by keeping the message simple yet engaging, especially for text-only posts. Include a call-to-action (CTA) when relevant, such as “Learn more” or “Check out our latest updates.”
Related Read: Free AI caption generator for social media
- Maintain consistent formatting: Ensure that all dates and times in the CSV file follow the format required by ContentStudio (dd/mm/yyyy hh: mm or mm/dd/yyyy hh: mm). Consistency in formatting will help avoid scheduling errors.
- Optimize image and link quality: Use high-resolution images with public URLs to ensure they display clearly on Threads. Similarly, make sure any URLs link to accessible and mobile-friendly pages, as users may be viewing content on various devices.
- Craft platform-specific messages: Although the CSV file allows bulk uploads across different platforms, remember that each social network has unique features. Adjust your message tone, hashtags, or image formats to suit Threads’ casual and conversational style for better engagement.
- Use proper hashtags: Hashtags can increase the reach of your posts. Research relevant hashtags for each post and include them in the Message column, being mindful not to overuse them, as Threads tend to favor a cleaner, less hashtag-heavy style.
Related Read: Hashtag marketing in 2024: Everything you need to know
- Preview and double-check content: Before uploading, preview your CSV file to catch any formatting issues, spelling errors, or broken URLs. This quick review step can help you avoid common mistakes and ensure that each post looks professional and polished.
- Leverage ContentStudio’s multi-language support: If your audience spans multiple regions, take advantage of ContentStudio’s multi-language support. Translating posts for specific audiences within the same CSV file allows you to reach a more diverse audience and improve engagement.
- Monitor and adjust schedules as needed: After scheduling, keep an eye on post-performance. If certain posts perform better at specific times, consider adjusting future CSV files based on these insights to maximize reach and engagement.
Following these best practices will enhance the quality and effectiveness of your bulk-uploaded posts on Threads, helping you build a more engaging and professional presence.
Conclusion
Bulk uploading to Threads through ContentStudio revolutionizes how you manage your social media presence. By following this comprehensive guide, you’ve learned how to transform what could be hours of manual posting into an efficient, automated process.
The ability to schedule up to 500 posts at once, combined with flexible scheduling options and multi-lingual support, makes ContentStudio’s bulk upload feature an invaluable tool for social media managers and content creators alike.
Remember that successful bulk uploading isn’t just about saving time—it’s about maintaining consistency, reducing errors, and creating a more strategic approach to your Thread content.
Related Read: 20+ Instagram Threads ideas to get more followers
FAQs about how to bulk upload to Threads
What’s the maximum number of posts I can bulk upload to Threads at once?
Through ContentStudio, you can schedule up to 500 posts in a single bulk upload. However, it’s recommended to start with smaller batches (50-100 posts) when you’re first getting familiar with the system to ensure everything works as expected.
Can I bulk upload different types of content (text, images, links) in the same CSV file?
Yes, you can mix different types of content within the same CSV file. The CSV template provided by ContentStudio includes columns for:
- Text/captions
- Image URLs
- Links: Just make sure to fill in the appropriate columns for each post type while leaving unused columns empty for text-only posts.
What happens if I schedule posts for a time that has already passed?
ContentStudio’s system will flag any posts scheduled for past dates and times during the validation process. You’ll need to either:
- Update the scheduling time to a future date
- Use the Regular Intervals option to automatically space out your posts from the current time
- Apply a Queue schedule to distribute posts according to your predetermined posting times
Can I edit my scheduled posts after uploading the CSV file?
Yes, you have several options for managing scheduled posts:
- Edit individual posts using the pencil icon in the post preview
- Make bulk changes through the Bulk Action feature
- Delete and reschedule posts as needed. All changes can be made before the scheduled posting time.
What should I do if my bulk upload fails?
If your bulk upload fails, follow these troubleshooting steps:
- Check your CSV file format matches ContentStudio’s template exactly
- Verify all dates follow the correct format (dd/mm/yyyy hh: mm or mm/dd/yyyy hh: mm)
- Ensure all image URLs are publicly accessible
- Remove any special characters that might cause formatting issues
- Confirm your Internet connection is stable
- Try uploading a smaller batch to identify specific problematic entries
If the issue persists, download a fresh template from ContentStudio and transfer your content there, as formatting issues are the most common cause of upload failures.
